
When I first got into Warhammer, I was equal parts excited and intimidated by the idea of painting my own miniatures. I’d scroll through pictures of beautifully painted models online and wonder how anyone had the skill—or patience—to do that. But here’s the thing: you don’t have to be a pro to start painting, and you’ll be amazed at how quickly you can improve with just a few basic tools and techniques.
Let’s walk through the essentials to help you get started.
Step 1: Pick the Right Tools
You don’t need to break the bank to start painting miniatures. A beginner setup can be both affordable and effective. Here’s what I recommend:
- Brushes: Start with 2–3 brushes—a fine detail brush, a standard size brush, and a drybrush. Brands like Citadel, Army Painter, or even some craft store options work fine when starting out.
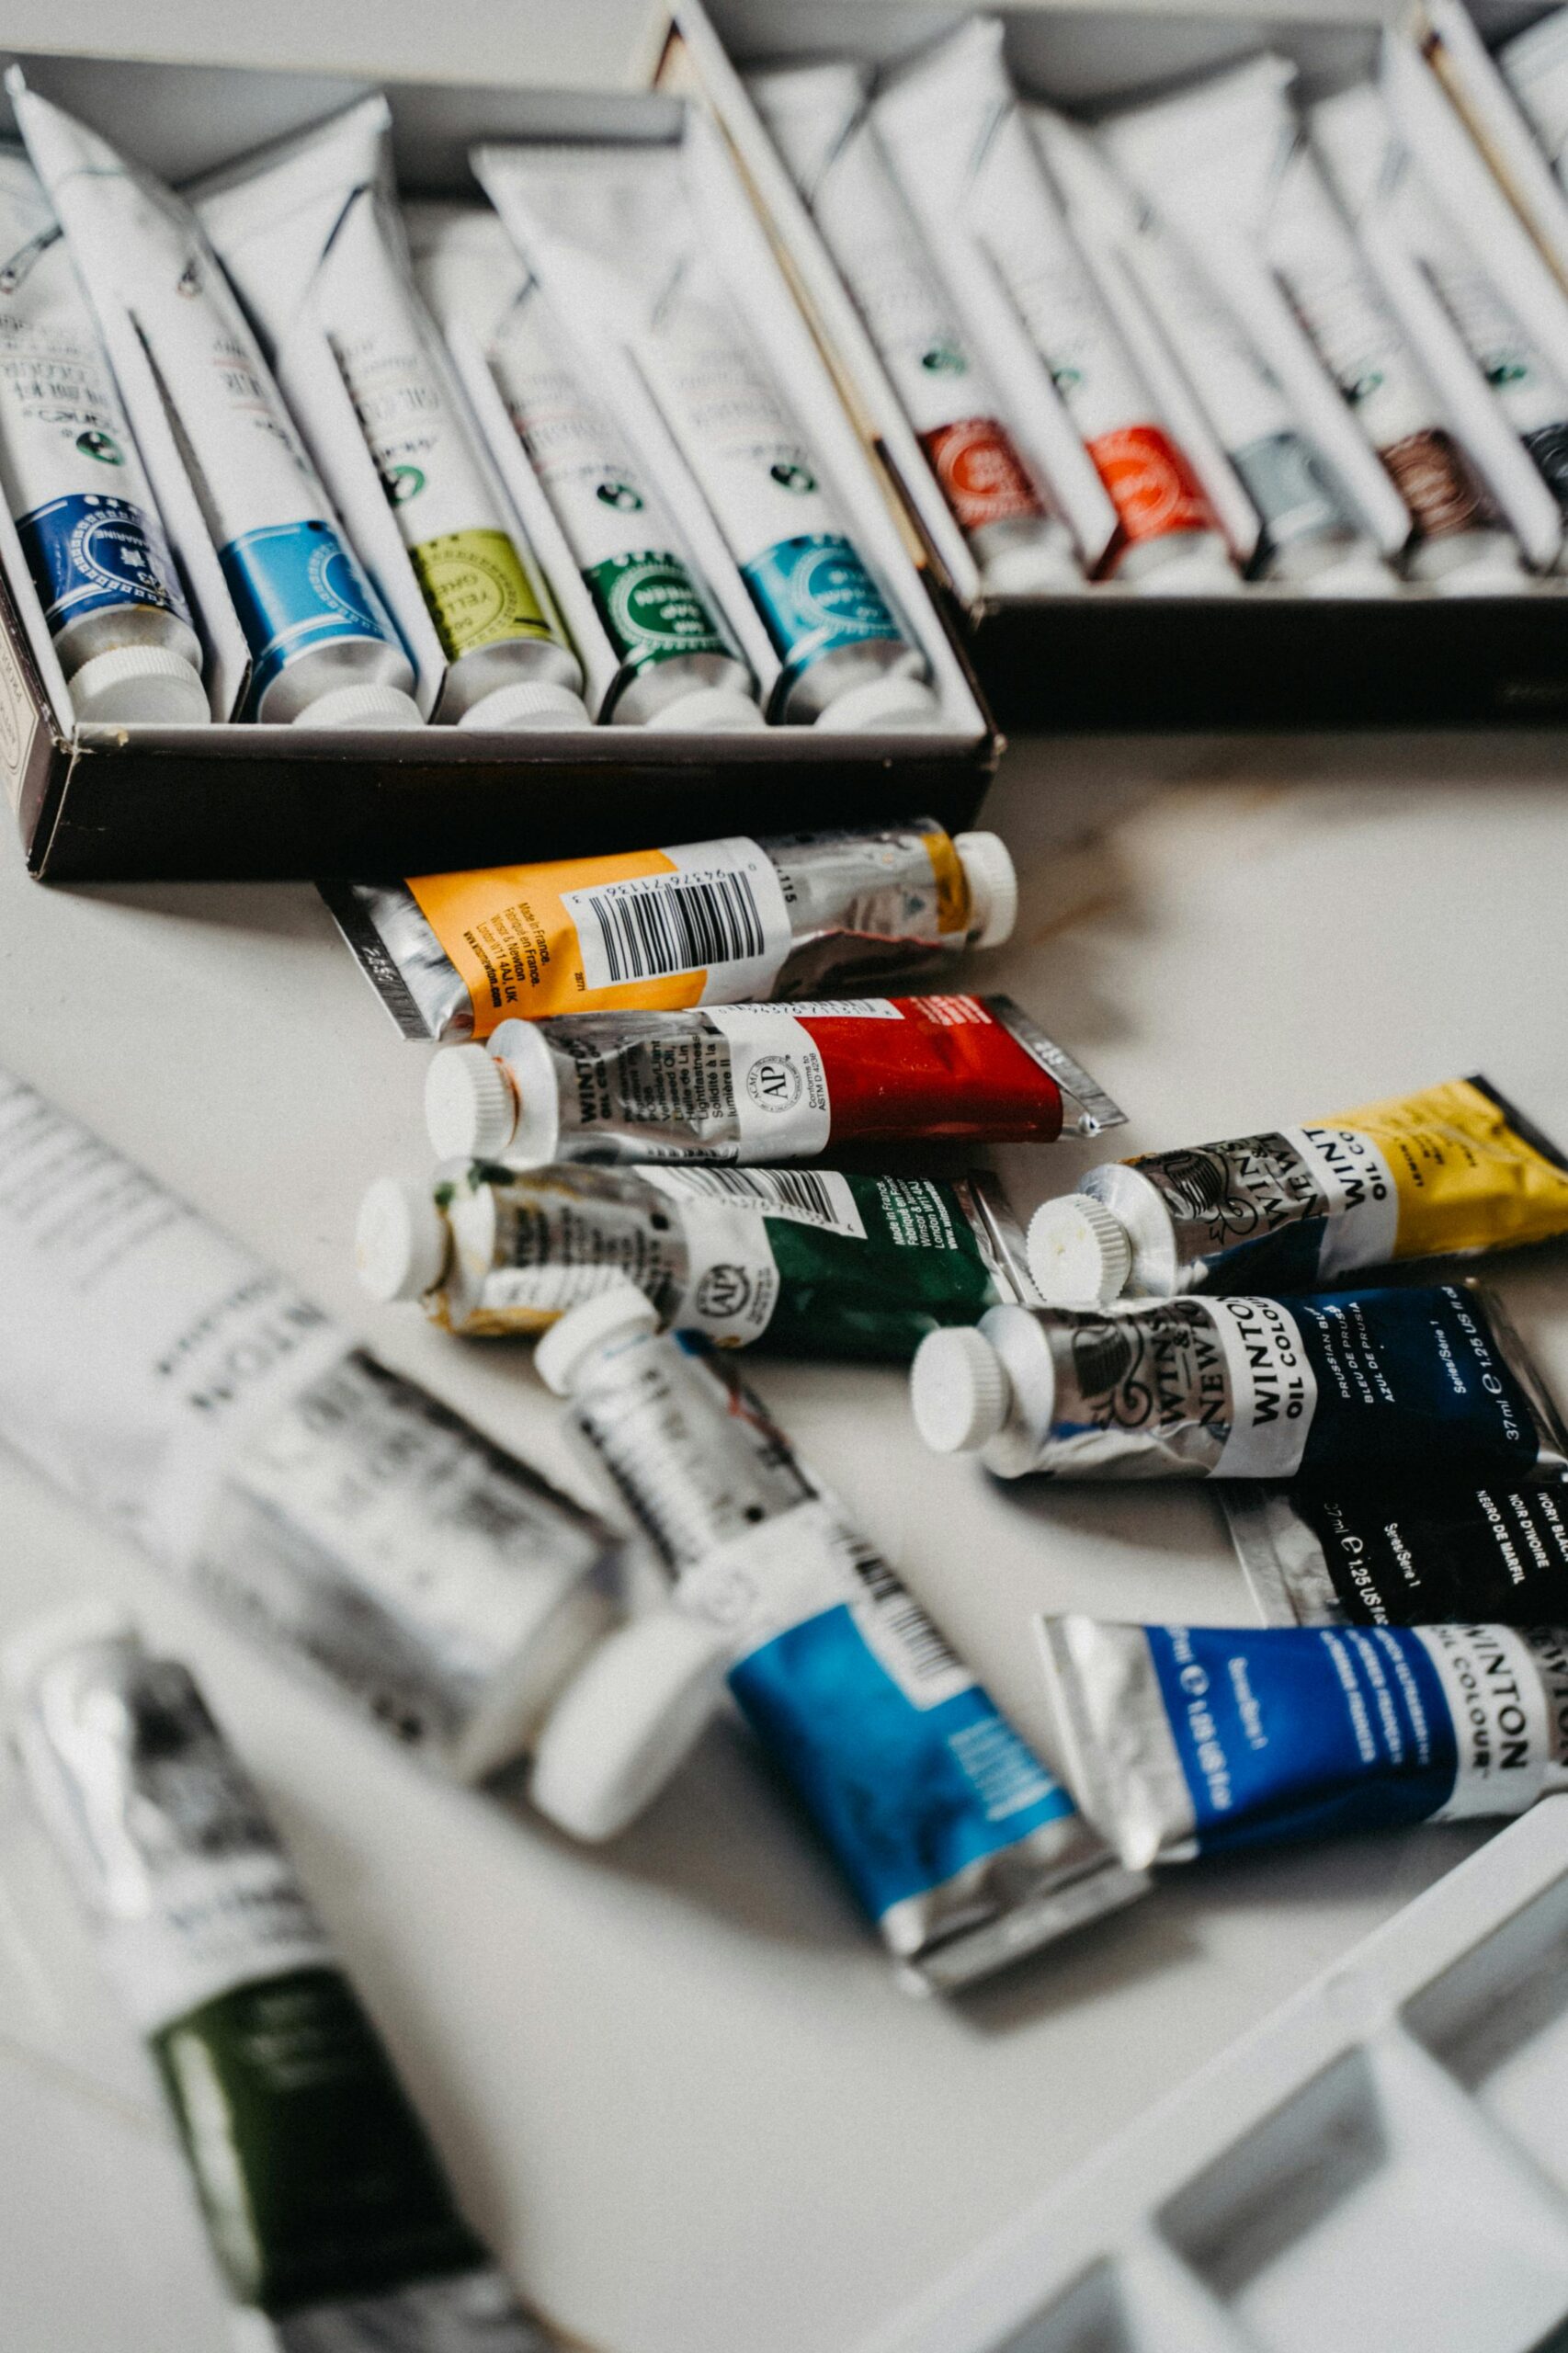
- Paints: You’ll want acrylic paints specifically made for miniatures. Citadel, Vallejo, and Army Painter are the big names. Pick up a starter set or buy a few basics—black, white, metallics, red, blue, green, and a flesh tone.
- Primer: Always prime your miniatures before painting. You can use spray primers or brush-on primer. This helps paint stick better and prevents chipping.
- Palette: A wet palette is ideal, but even a basic plastic one will do. You’ll use this to thin your paints.
- Water cup, paper towel, hobby knife, and super glue (for assembly) round out the beginner toolkit.
Step 2: Learn the Basic Techniques
Once you’ve got your tools, it’s time to apply your first strokes. Don’t overthink it—just focus on learning these core techniques:
- Basecoating: This is your foundation color. Thin your paints slightly with water so they go on smooth and don’t obscure details.
- Washing/Shading: Washes are thinned-down paints that flow into recesses and bring out details. Apply a wash to instantly add depth and shadows.
- Dry Brushing: A technique where you use a dry brush with minimal paint to highlight raised areas. It creates quick, dramatic results with very little effort.
- Highlighting: For more precision, use a lighter shade of your base color to highlight edges and raised areas.
You’ll improve fast just by repeating these. I started with basic basecoats and washes, and over time worked up to layering and blending.
Step 3: Be Patient with Yourself
Your first mini won’t be perfect. Mine wasn’t either! But that’s part of the journey. Each model teaches you something new. Practice on test minis or cheap figures before diving into your prized units. Painting is about progress, not perfection.
Final Tip: Just Start
You don’t need to wait until you “know enough.” The best way to learn is by doing. Grab a brush, pick a color, and get paint on plastic. Before you know it, you’ll be fielding an army that’s not only fearsome on the table but painted by your own hand.